Saturday 25 April 2015

Sewing Plans and Birthday

The proper Singer sewing needles arrived last week; they look brilliant (thank you eBay) and I plan to fit one onto the machine today. I was surprised that the needles with my machine weren't Singer ones, but then it would have been a lot harder to find proper needles when this machine was last used.


Also this week, it has been my birthday! This is the crafting section of my presents, I got lots of gorgeous fabric and buttons and bias binding and embellishments and a folder for my patterns and projects, and even a mug with 'sew a little happiness' on it. I am even more excited to get sewing now!
I have my first three projects planned and ready, now I have all my supplies, so this weekend is sewing weekend. Hopefully I'll be posting about my first creations here later on; if not you'll be reading about what I learnt from going wrong, but either way I'll give it a go. :)

Wednesday 8 April 2015

...properly threading the machine.

Oh dear, rookie mistake number one, today!

It's been a long time since I've done any machine sewing; well over ten years, in fact. So I completely missed the fact that there was a shuttle and a bobbin involved, despite the big clue from this being a 'vibrating shuttle machine'. But thanks to this amazing youtube channel, which I've also linked to in my resources post, I opened the sliding plate on the machine and found this amazing piece of metalwork. The shuttle comes out really easily by pressing on the point with a finger, but has to be clicked back into place, a point that worried me for a few minutes when I thought it wouldn't go in!

I also noticed that my family had left the spool pin threaded with white thread, but the shuttle was loaded with black thread. I wonder what they were sewing when it was last used?

After another youtube video, I was able to wind the bobbin (turning the bobbin winder by hand, unfortunately; the wheel on my Singer is so well-used that it's oval, and it's the one thing I forgot to get a picture of) and load the shuttle with my purple thread, pretty easily after the first try. As proof that it's done correctly, this was taken while the shuttle was hanging by its thread from my hand, so it's all properly in place.

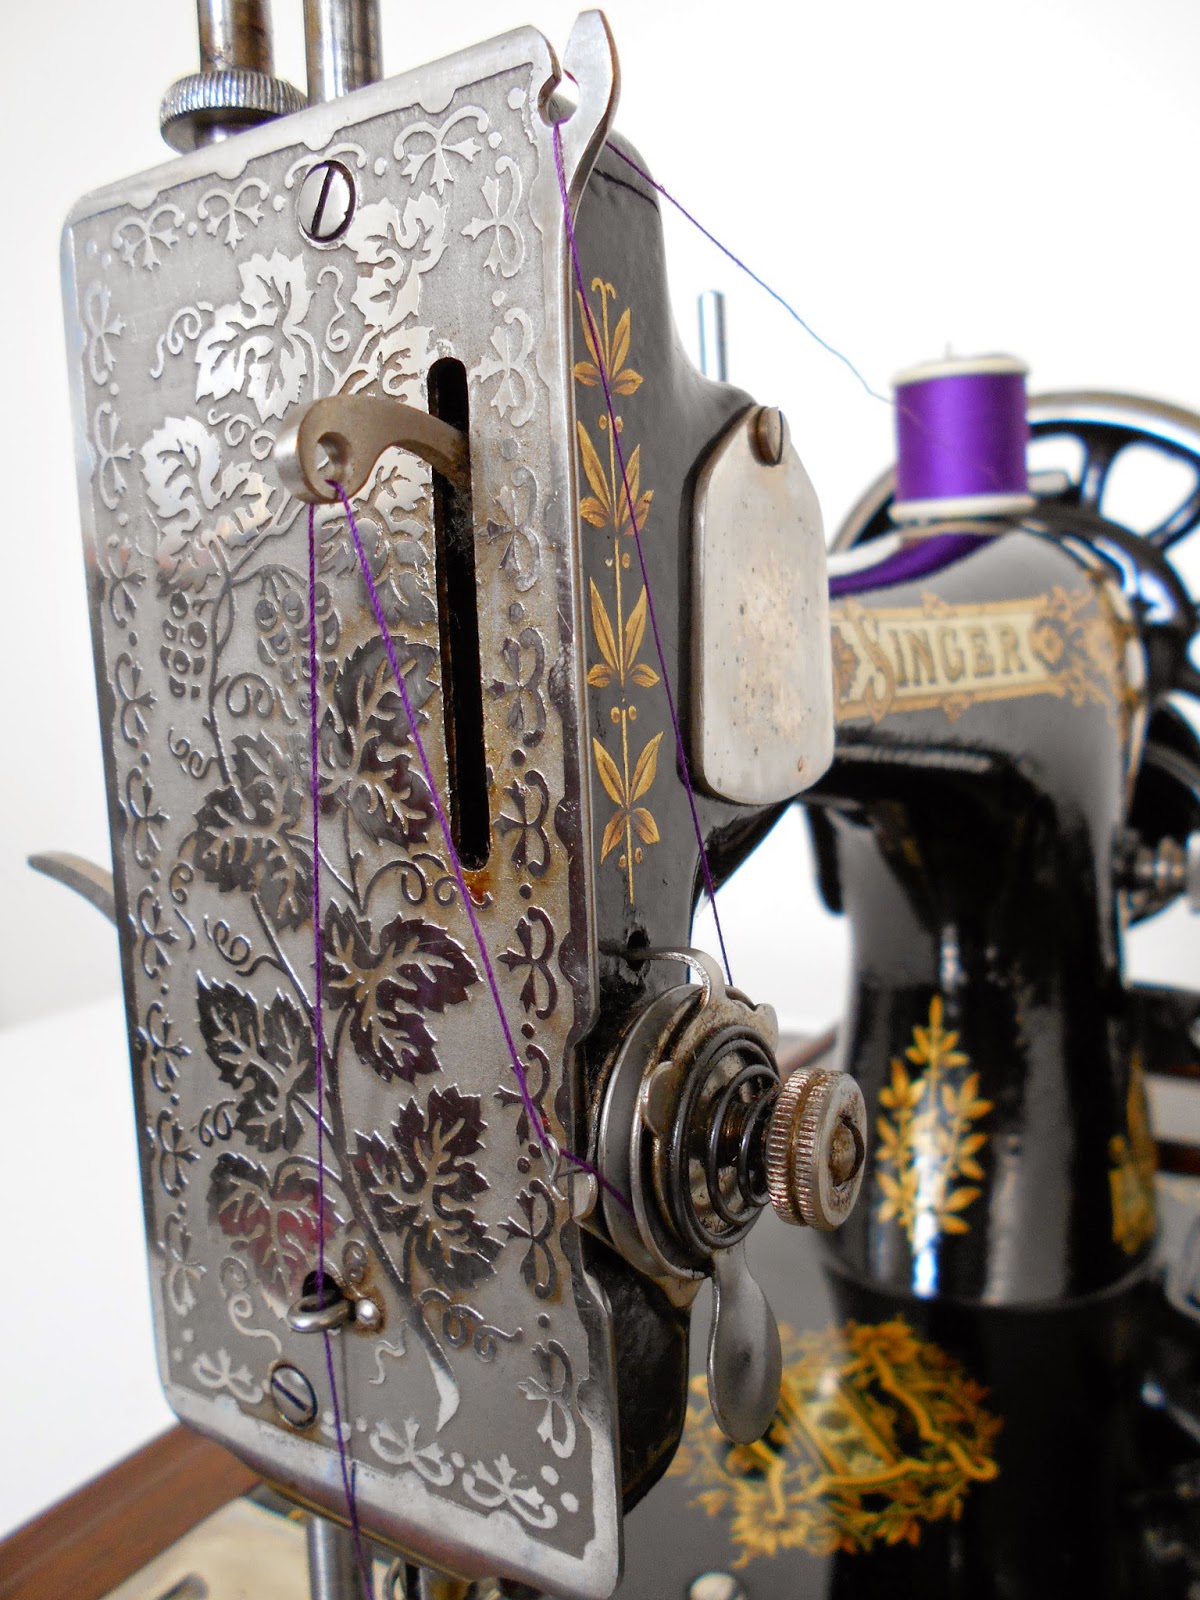
And after reading the manual, I got both threads through (with a bit of grumbling about how fiddly it was at first)! Now it should be ready to sew, and hopefully I'll get some time later this week.
Also, a quick note on the photos. As well as learning to use the sewing machine, I am also learning to use my new camera, which has a very different way of focusing on an object to the way my old one did. So the photos are a bit hit and miss; let me know if any are too blurry.

Sunday 5 April 2015

Threading The Machine

As shown in my last post, my heirloom Singer 28k was still threaded when I got it. This weekend's main project (after I'd bought new Singer needles online this morning) was to observe where the thread went and how it all linked up, and then try to re-thread it myself.

Of course, when I set the machine down to photograph the set-up, I managed to move the thread and it fell out of the needle and the guide. So, re-threading a little earlier than planned!

I read the manual online (more on that hopefully in a later post) a few times this week, so it only took two goes to get it back to the original state, so I could get this photo:
It's not very obvious where everything goes with the white thread in, though, and I know my first project will involve my favourite colour; purple. So, once I'd got the hang of it and got the pictures, I re-did the set-up with my purple thread.
Much better. You should be able to see the thread more clearly on this one, following the guides and going down to the needle. It seems to be working still and didn't take me too long to set up, about a minute or two. Now, just to work out how to actually sew with it. Back to the manual! :)